Saturday, December 31, 2016

Emerald Creek 2016 Review

Hello crafty friends and visitors! I hope you are enjoying another lovely break from your routine with a fun filled New Year's Eve! Some of you may know I joined Emerald Creek Dares Design Team in September of this year. Our fearless and fun leader and shop owner of Emerald Creek Supplies, Kim, has asked us to give you a little review of our 2016 projects on the blog. I'm sharing my Year in Reeview post there today, so if you get a minute, hop over to Emerald Creek Dares to see the amazing works of my teamie, Jessica of Two Mad Dahlias.


 And here are two more I created as Guest Designer.

If you wish to read tutorials on and see details of the projects shown above, you can click on the related link on today's post at Emerald Creek Dares,  and you will be magically transported to that project on my blog.

 My wishes for you are for a healthy and safe New Year filled with crafty moments! I hope you will include Emerald Creek Dares in your list of crafty challenges to join this year! Kim has generous prizes for winners and favorites, so be sure to check out each of the 2017 monthly Dares!

Hugs and Blessings!
Sara Emily

Friday, December 30, 2016

Terminating 2016 with Two Tags!

Hello crafty cohorts and callers! How do you like my alliterations? Having a little sending-off-2016 fun! Here are two tags I made to house the big bucks and gift card I gave to my hubby and my son respectively for Christmas. Well, my son's is still on the Christmas tree. I always leave a little something on the tree from the Christmas mouse tied on with a yellow ribbon. My son perhaps thinks he is too old for such foolishness?? I'd keep it for myself, except it's a card for Chick Fila, and I really shouldn't be eating that yummy stuff! Thanks go to Linda of The Funkie Junkie  for the design on these tags. Be sure to pop over to her blog to see her gorgeous original!


My backgrounds were colored with Distress sprays in Evergreen Bough and Tarnished Brass and inked with more Evergreen Bough and Vintage Photo Distress inks. I think there might be a splash of Perfect Pearl spray on there, too. I splattered with Picket Fence paint and heat embossed in white with my new Winter Wishes stamps from Woodware, a prize I won from Crafty Cardmakers. Thank you, Dorothy; I love them! The die cut sentiments are Tim Holtz Handwritten Holidays Thinlits.


The pockets were cut from water color paper I colored with Distress inks in Evergreen Bough and Vintage Photo, also given a splatter of "snow". I used a Tim Holtz Labels Thinlits die for the  decorative cut out at the top of the pocket. "Winter Wishes" is another stamp from the set by that name and heat embossed. Two Paper Snowflakes, Mini die cuts are given an extra bit of sparkle with Stickles. The two larger snowflakes tucked into the pocket are from that same die cut set. They were given their sparkle with Distress Clear Rock Candy glitter. There is a bit of that glitter on the Holiday Greens, Mini tucked in there, too.


Check out that cool vintage gift tag I tucked in there! I took a few shots of it to show you the holographic nature of it--they don't make them like that anymore! They're the kind you had to lick to stick! Yuck!


The tiny silver bells are from my stash. Really not much to these tags, and I was able to make them Christmas Eve between serving up meals at our church and an afternoon nap. 


I'm sharing these tags with these challenges:
-Scrapy Land Challenge #56-Let It Snow! I used 4 Sizzix die sets.

Thank you for being here with me this year! I've learned so much from all of you in blogland, and you have inspired me in ways you might never know. I'll say Happy New Year, but I'm not done yet with this year's posts!
 Hugs and Blessings!
Sara Emily

Thursday, December 29, 2016

Winter Wishes

Hello crafty friends and visitors! Today I have a card I made just for fun. It was a late Christmas card to my good bloggy friend, Niki of Pawsitively Creative. I'm sure she appreciates the snow on the card more than on her driveway!


The blueish-grey background and the birch trees were done pretty much in the same fashion as I did on my Winter Birthday card, except I used some grey paints on the back embossed panel and used different products for the "snow". I used the Tim Holtz Snowflurries Texture Fade for the background and his Birch Trees and Mini Paper Snowflakes Thinlits dies, Impression Obsession Deer Trio and Ranger Grit paste with a Mixture of Prima Art Sugar, Distress Rock Candy Glitter and some chunky glitter for the snow. I added white pen to the snowflakes and glitter on the deer. The sentiment is a Tim Holtz Holiday Talk sticker, and the musical background is vintage sheet music from my stash.


I'm sharing this card with the following challenges:

-Scrapy Land Challenge #56-Let It Snow I used 2 Sizzix sets and 1 Impression Obsession die.
-Noor! Design December Challenge 25-'Sparkle' Hopefully you can see a bit of the sparkle!

Thank you for stopping by today! Your visits and comments sure make my day!
Hugs and Blessings!
Sara Emily
UPDATE: Yippee!

Tuesday, December 20, 2016

12 Tags of 2016-December

Hello crafty friends and visitors! Well, this winds it up for Tim's 12 Tags of 2016! I can't believe I'm done early--early for me, that is! I was a little befuddled by this one since I don't have a good portion of this month supplies. I was going to allow myself to skip this one, but later decided not to let the lack of supplies stop me from finishing out the year.

+


Tim really finished the year out with a bang! I am loving the crisp look of the tiles against the polka dot background and those sweet little jingle bells on a bed of winter greens on Tim's festive December tag. And I'm so happy he provided a link to his video on the Shadow Press Station--I completely missed that the first time around! Well, I still don't have the Shadow Press Station, so I made one for myself out of cardboard. Rather crude, but I was afraid if I ordered one at this late date, it might not arrive in time. My makeshift "station" seems to do the job quite well, but I'll be adding the real thing to my crafty shopping list!


I made all of my tiles using some chipboard from a canned cat food box and Tim's Merriment Paperstash. I don't have the Christmas Shadow Press set, so I used my old Moments set. I mixed up a couple of  embossing powders by Wow for my drop shadow and Handwritten Holidays die cut.  I love the sparkle! The Numeral Token is backed with a punched circle embossed in Ranger Embossing Tinsel. "Wish" is from my first ever owned set of Remnant Rubs and the Mirrored Star is colored with sunshine Yellow and Gold Mixative alcohol inks. I used a tiny jingle bell to dot my lower case "j".


I substituted Tim's Poinsettia stencil for the Polka Dot one and used Black Soot Distress spray since I don't own a Christmas-y red. I gave my burlap Textile Surface 2 coats of gesso and allowed it to dry overnight between coats prior to stenciling. So sad I didn't think to take a photo--it really was so pretty! I distressed ever so lightly with Walnut Stain ink and even added a little messy sewing.  I have to pat my sewing machine on the back--that's a lot to sew through for a little rinky-dink machine!

I used Holiday Greens, mini and Mixed Media Christmas Thinlits for my "Christmas whitery" as Alison puts it. I had some pretty card left over on my work table colored with Evergreen Bough  and Perfect Pearl Heirloom Gold that I pulled into service for the holly. The French Horn is from my stash.


The beautifully dyed seam binding is one of many Secret Santa Christmas gifts from my good friend  Autumn of Sew Paper Paint--isn't it gorgeous?! She also made this stunning reverse canvas especially for me, which I treasure! The jingle bells are from my stash. I remember purchasing the jingle brads a while back, but for the life of me I don't know what I did with them!


Well, that does it for another year! Thank you, so much, Tim for your wonderful inspiration and instruction throughout the year! You have such a giving heart, and we are truly blessed that you share so much with us! Merry Christmas and a safe, healthy and Happy New Year!


I'm sharing my tag with the following challenges:
Crafty Cardmakers #179 Christmas With a Twist My twist is the black poinsettia background and a bone on a Christmas card.

Thank you for stopping by today and for your heart felt comments! They are especially meaningful this time of year, because I know you are so busy! Have a very Merry Christmas!
Sara Emily

Sunday, December 18, 2016

A Winter Birthday Card

Hello friends and visitors! Today I have a birthday card I made for a special blog friend, Lisa of A Mermaids Crafts to share with you. Please visit Lisa at her lovely blog if you haven't already--she is one talented artist who does amazing things in her Shabby Chic style. Nothing says winter beauty to me more than blue skies and birch trees!


The background corrugate board is waste packaging from a toaster. I pulled off some of the paper and added Picket Fence Distress Crackle Paint. Some was from an old jar and it was super thick, but made some amazing cracks--more so than the newer thin runny stuff. After it dried thoroughly, I gave it a coat of DeoArt Ultra Matte Varnish  and a sprinkle of Clear Rock Candy Distress glitter and DecoArt Glamour Dust. The blurry photo on the right shows just a hint of what is seen in real life. Boy, you really have to hold your mouth just right to capture that sparkle on an I phone camera! I apologize for the poorer than usually photo quality. I was trying to take this on a bright sunny morning without additional lighting to get that winter sun.


The blue panel was made by embossing a card panel with Tim Holtz Snowflurries Texture Fade, scraping a thin and thick coat of gesso on with a  credit card. I purposefully left some areas uncovered. When dry I went back in with Distress paints in blues. I made another of these backgrounds in a little darker combination of paints, and perhaps you will see that on a future project. I wanted this to be bright and cheery for Lisa's birthday. 


For my focal layer, I chose Tim's Birch Trees Thinlits die and pretty much followed this amazing tutorial by Anna-Karin of Layers of Ink. Anna-Karin is an amazing artist, and I draw so much inspiration from her. To make this my own, I used an old Inkadinkadoo script stamp and added some "snow" where a dusting might land in the thick woods using my Ranger Emboss It and Emerald Creek's Soft Fallen Snow embossing powder. I use the embossing liquid straight from the jar, using a fine paint brush to get it right where I need it. Of course the pine boughs (Tim Holtz Holiday Greens Mini Thinlits) needed some snow, too. You might be able to see I tucked in a Tim Holtz Tree Line Thinlit die cut. 


The Impression Obsession Deer Trio got pulled out once again, and the deer are peeking out to wish Lisa a Happy Birthday! My sentiment to Lisa is stamped with Tim's Simple Sayings set and colored with Distress inks to compliment the colors of the woodsy scene. To fluff this up a bit (I tried to make a nice feminine card for my friend, but it just wasn't happening!), I added a hand dyed seam binding bow. I had to pull it out of the way a bit to show the entire sentiment. (Next time, plan ahead!)


I apologize for all the shadows, but I think it makes the woods look a little denser! Making this card for my friend brought me such joy! One of my fondest memories growing up is walking through the birch woods on the edge of our farm. It was beautiful any time of year, but there's something so special about a birch tree in the winter, when it shows the beauty of it's bark.


Happy Birthday, Lisa!

I would love to share my card with these challenges:
A Vintage Journey December Challenge-Winter Magic
--Deep Ocean Challenge #144-"Silent Night"
-Simon Says Stamp Monday Challenge-Let There Be Snow
-Scrapy Land Challenge #55-Anything Goes (With a die that Scrap Land sells) I used an Impression Obsession die and 3 Sizzix dies.
-Creative Artiste's Challenge #21-Anything Mixed Media Goes
-Word Art Wednesday Challenge Weeks #260-261-Anything Goes
-Noor! Design Challenge 25-'Sparkle' so difficult to capture on camera, but it's there!
-Allsorts Week 394/395 Blue Bingo I choose blue and brown, add dimension and masking. Masking was done with Distress Micro Glaze on the birch trees. Please refer to Anna-Karin's link in my text for instructions.
-Your Next Stamp Challenge #54 Color Challenge I used the first 4 colors--what a gorgeous inspiration photo! (1/5)

Fussy and Fancy Challenge #79- Angels/Fairies or Winter (2/2)
Winter Wonderland Challenge Blog For Someone Special/Happy New Year
-Mixed Media Place- November Challenge Another gorgeous mood board!I was inspired by the blues, brown tones and icy feel to it.


Thank you for stopping by and leaving your wonderful comments! I know you are busy, so your visit is even that much more special to me! 
Hugs and Blessings! Merry Christmas and Happy New Year!
Sara Emily
UPDATE: Yippee!


Friday, December 16, 2016

Festive Gift Card Holders-12 Tags of Christmas-Funkie Junkie Style-Week 12!

Welcome friends and visitors! Today I have my interpretation of Linda's last of her 12 Tags of Christmas-Funkie Junkie Style, being week 12. Linda has been hosting this inspirational challenge for 12 weeks (well, duh!), and each week she outdoes herself with another wintry/holiday tag for anyone to interpret as they wish. Generous prizes are awarded at the end of the challenge, and Linda's wonderful shop The Funkie Junkie Boutique is the sponsor. We all are winners, though, in that we've learned and shared new ideas and are rewarded with a stash of Christmas cards to send out either this year, or if you're like me, it might be next! Ha! Ha! This had to be my favorite tag of all! Not only is it beautiful and in my favorite colors, but the inspiration came at a time I needed it most! I was trying to think of some grand way to present gift cards to my sister and Mom. This was like a prayer answered!


You can see Linda's delightfully festive 
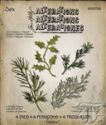
pocket tag on her blog and see that I was inspired by her snowy background, the vintage Tidings "Noel", die cut greens, embossed pine branches, the little charm, and of course her pocket stuffed with Christmas ephemera. I've had to make some minor changes due to not having the same products, but otherwise it was a straight case of casing! I made two, because I needed two, and I really wasn't happy with my first attempt. We learn so much from our mistakes, but sometime we just have to embrace our impurrfections, which I did many times over on both of my tags. Here is my second tag, which was actually my first. That says Joy, and will hereafter be referred to as the Joy tag.


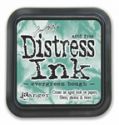
I made my Peace tag on a black tag and gave it several coats of gesso. This probably was mistake number one. I should have gone with a manila tag, but hey ho, onward and upward! After painting with Evergreen Bough Distress paint, I flicked on some rubbing alcohol. Sometimes those little dots can become big blobs if you don't stop them. I'm going to need to cover that up! Because of the variation of tones, I painted on a wash of white acrylic paint over the full tag to bring the color back a little.


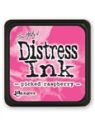
I used the same color over gesso on the smaller panel, but you can see the difference the black substrate and using ink versus paint makes. I did the water spritz and flick just like Linda did on her tag. Live and learn, or not! The small panel was embossed with Tim's Poinsettia Texture Fade and I colored the flower with Picked Raspberry Distress ink. I can't tell you exactly what steps I took to achieve this, but it did involve covering it with gesso a second time after I painted the flower. It looked horrible! But I kind of liked the retro look, so I went with it.


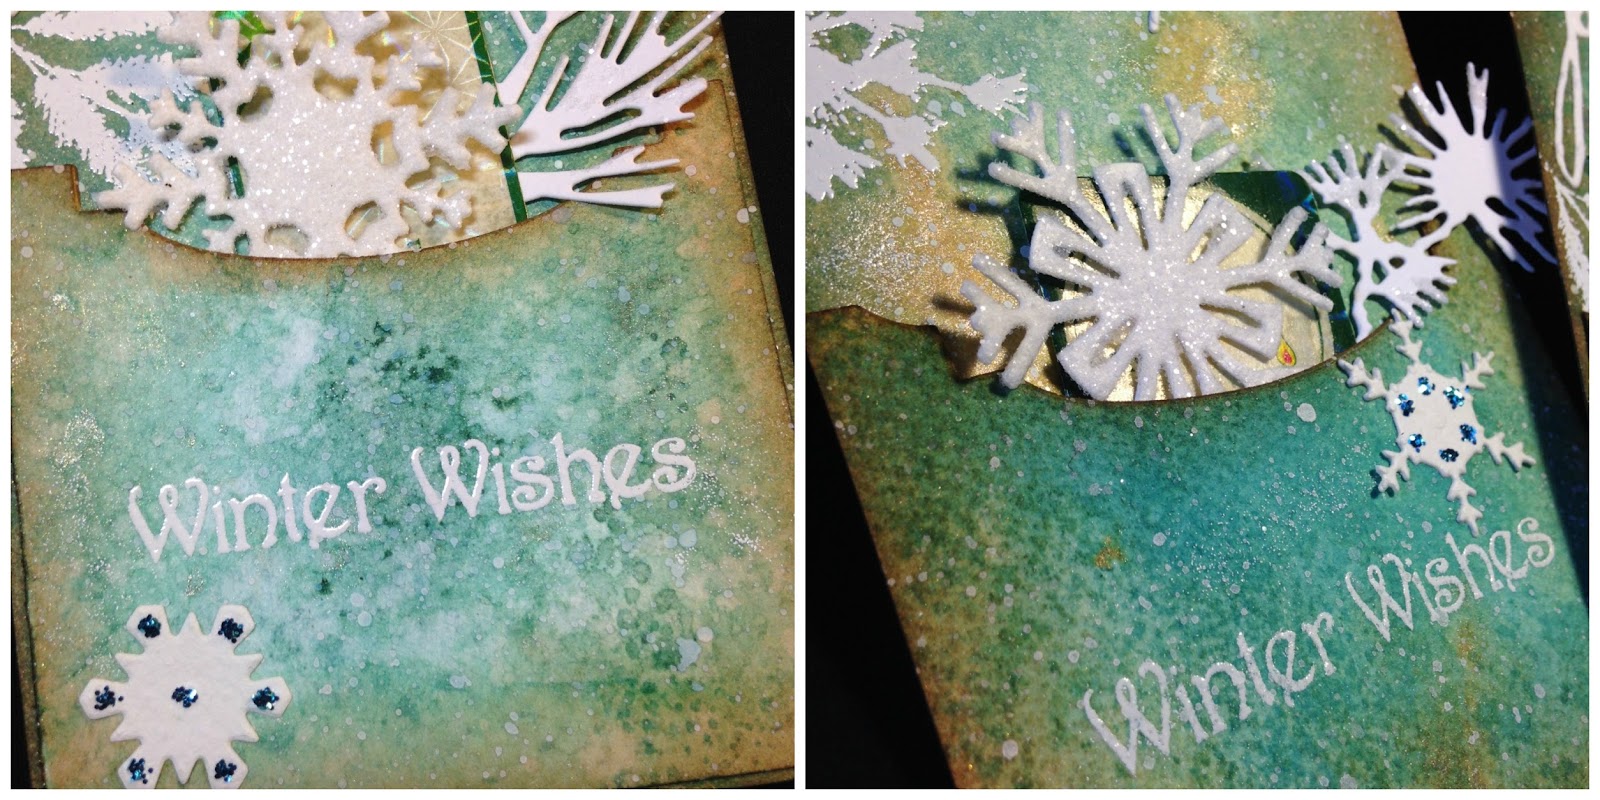
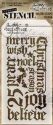
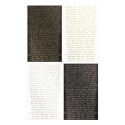
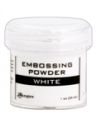
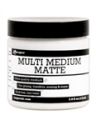
Paint splatter, background stamping (Heidi Swapp script stamp with Distress Archival ink), and embossed pine branches, just like Linda's tag, but I had to substitute my new Tim Holtz stencil in place of the Noel die cut, since I don't have that. That didn't turn out so well using transparent matte texture paste and white puffy embossing powder on the Joy tag, but again, I embraced my imperfection, and tried something else with Peace--plain ole texture paste. Better? You be the judge!


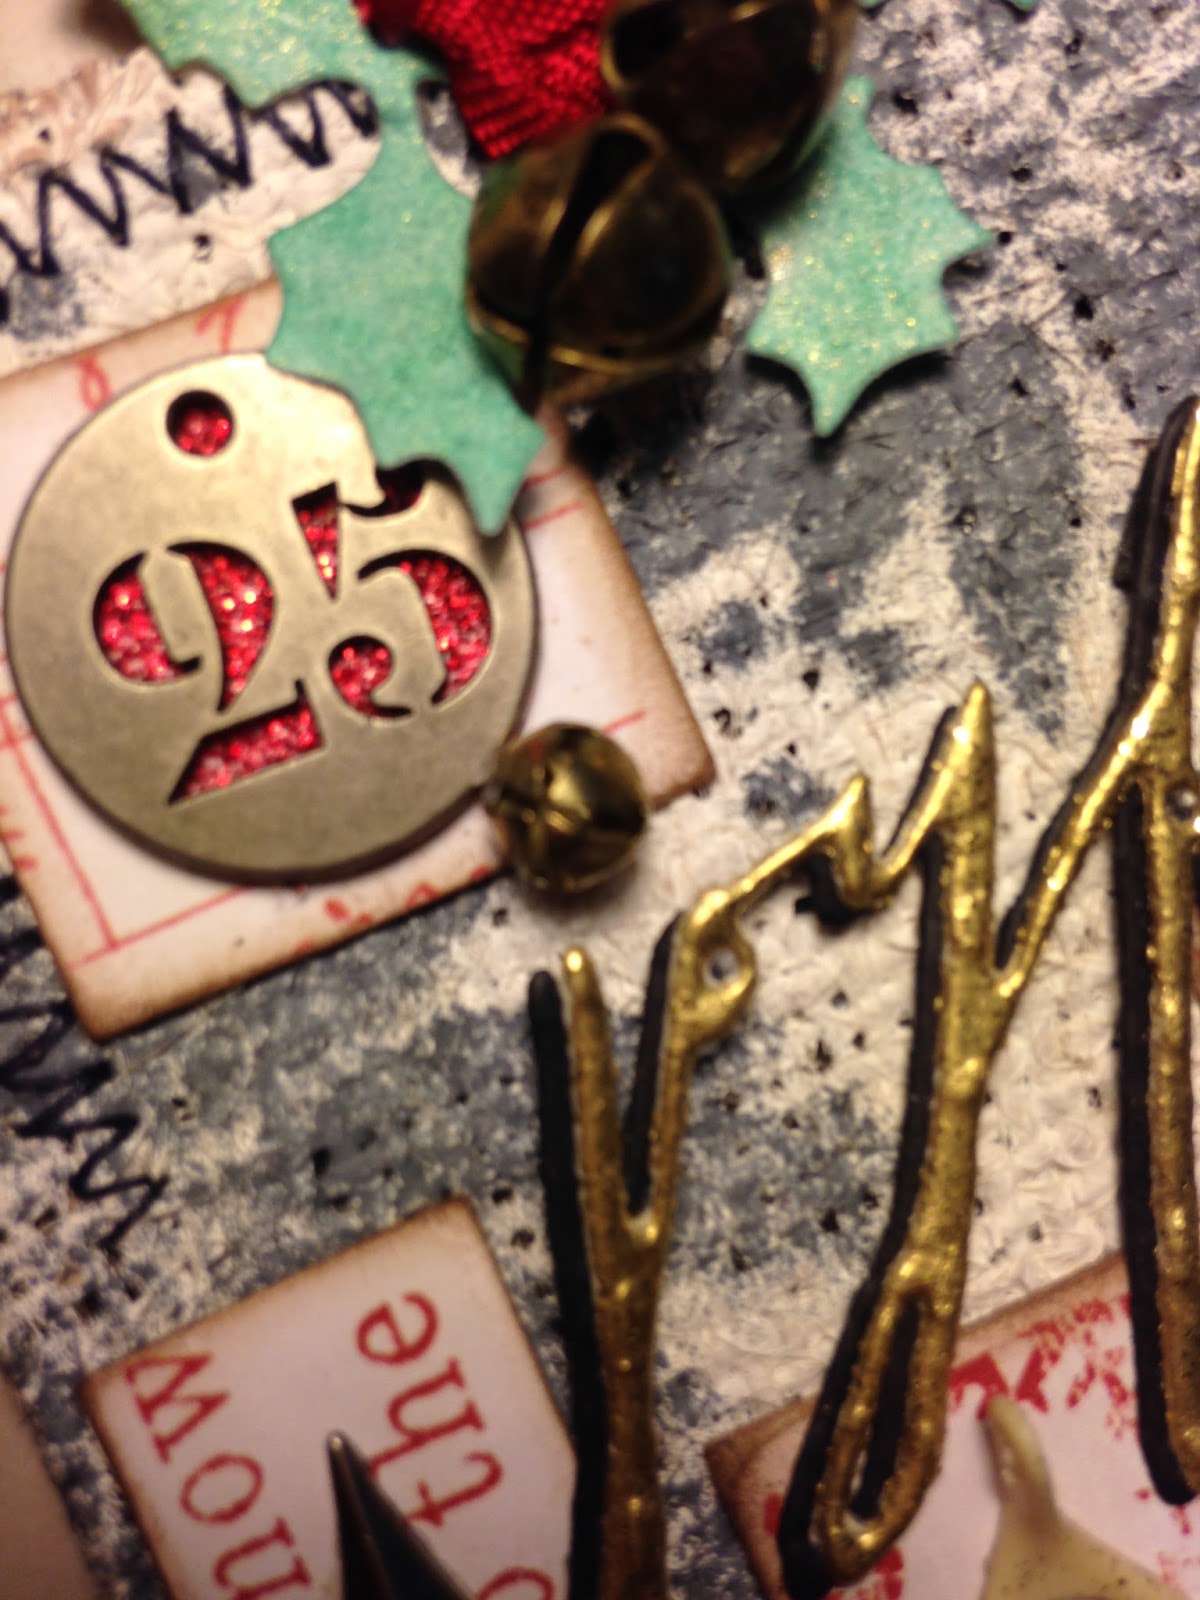
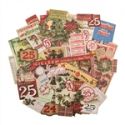
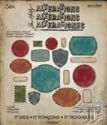
I used Tim's Christmas Blueprints 4 for the pine branches on this one. Christmas ephemera, winter greens, a sweet charm, rustic twine, and a bit of bling on the pocket portion (Stickles), in the likes of Linda's  tag. I couldn't locate my early Tim Holtz  Merry Christmas stamp that Linda used, so I had to settle with some Metallic Holiday Talk stickers. Excuse the phrase, but this kind of killed two birds with one stone--I got my sentiment and some of the metallic that Linda used on her pocket. I tried to use my gilded rub ons, but although they will stick to anything if you look at them the wrong way, they would NOT stick to my tag!

  I'm going to tuck in a little gift card behind the ephemera. This is for my sister and brother in law--I think they will be quite sick of poinsettias by the time Christmas is over.


This one's going to my Mom. See that Special Delivery tag? Hopefully we are going to surprise her and deliver her Christmas present in person. I chose the tag in the pocket for the tiny birds. Her gift is going to be a squirrel proof bird feeder and a years supply of safflower seed, which the squirrels typically won't touch. Sorry all my squirrel loving friends, but Mom said she stopped putting bird food out because the squirrels were eating her out of house and home. But I know she misses seeing her birds.


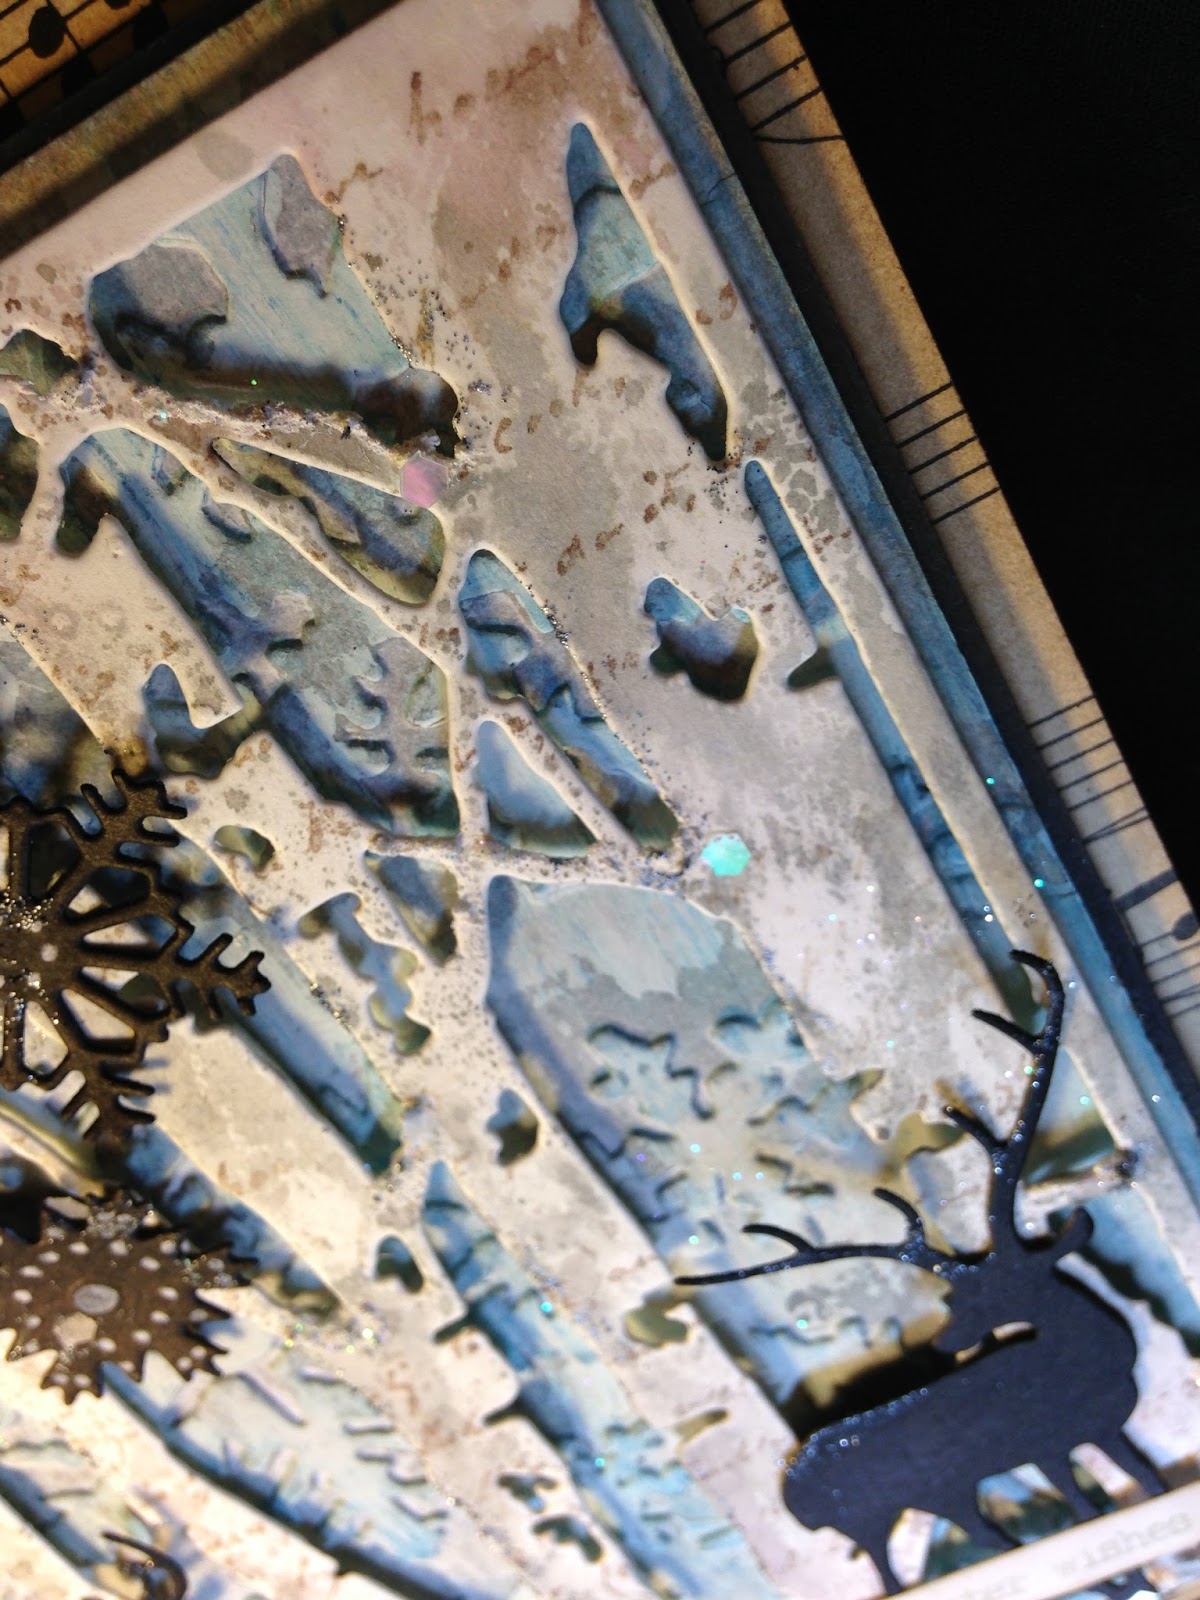
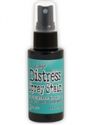
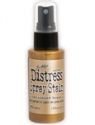
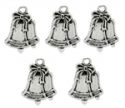
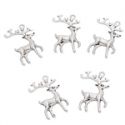
I forgot to take a photo of the background before I covered it up. I used Distress sprays for this one, and edged in Vintage Photo Distress ink. For my pine, I used a stamp from Tim's Scribble Woodland set. Isn't that deer sweet? She and the silver bells charm are from Linda's shop.


I didn't have Tim's little paper clips, so I used a funky one from my stash. The winterberry branches are embossed with Tim's Texture Fade of the same name. A little Stickles for the berries. You can plainly see another goofy I made with the pocket portion on this tag. Those lines along the sides are score lines. Somehow I had the bright idea I would make this dimensional, but that is an engineering feat greater than I can handle at this time of the year! So I just have scored lines. Mom will think it was a plan.


Well, that's a wrap for me, too! I've so enjoyed Linda's 12 Tags of Christmas challenge! Thank you so much, Linda, for all your hard work and for all your comments you've so lovingly left! I know you are a busy lady,and it deeply touches me that you take the time to comment on each and every entry on top of providing us with such high quality inspiration! Have a Merry Christmas, and I wish you a healthy, happy and prosperous New Year!

Many of the products I've used can be found at The Funkie Junkie Boutique...


I'm sharing my tags with these challenges:
-Crafty Cardmakers challenge #179-Christmas With a Twist My twist are the non-traditional colors on my Peace tag-pink. 1/16

Thank you for visiting today and for your wonderful comments! I read and appreciate each and every one of them! I wish you all a Merry Christmas and a Happy New Year!
Hugs and Blessings!
Sara Emily

Yippee!