Friday, January 29, 2016

Paloma is About to Take Flight and a Special Gift to Go With Her

Hello crafty friends!  I received a special little brown package in the mail last week from the very well known and much loved blogger Alison Bomber of Words and Pictures. After the horrible events that unfolded last November in Paris, Lys of Impression Scrap was moved to create a dove of peace, whom she named Paloma.  It is her goal to have Paloma travel the globe to spread her message of peace.

Here is Lys' original post and here are Lys' words she used to introduce Paloma:

After the shock, the anger, the nausea...what to say...what to do?
I have only weapons made of paper and words...
Freedom and peace are the ones I wished to give today.
So this is Paloma, my simple paper dove.
For her I make a wish: could she take flight
and give all around the world her freedom and peace message?

Before sending  Paloma off to her next destination, it is Lys' wishes that she be photographed either in a post or photos sent to her.  I chose to do a post, because I made something special to send along with her to her next spot on the globe. While this has nothing to do with world peace, I'm sure the recipient will understand.


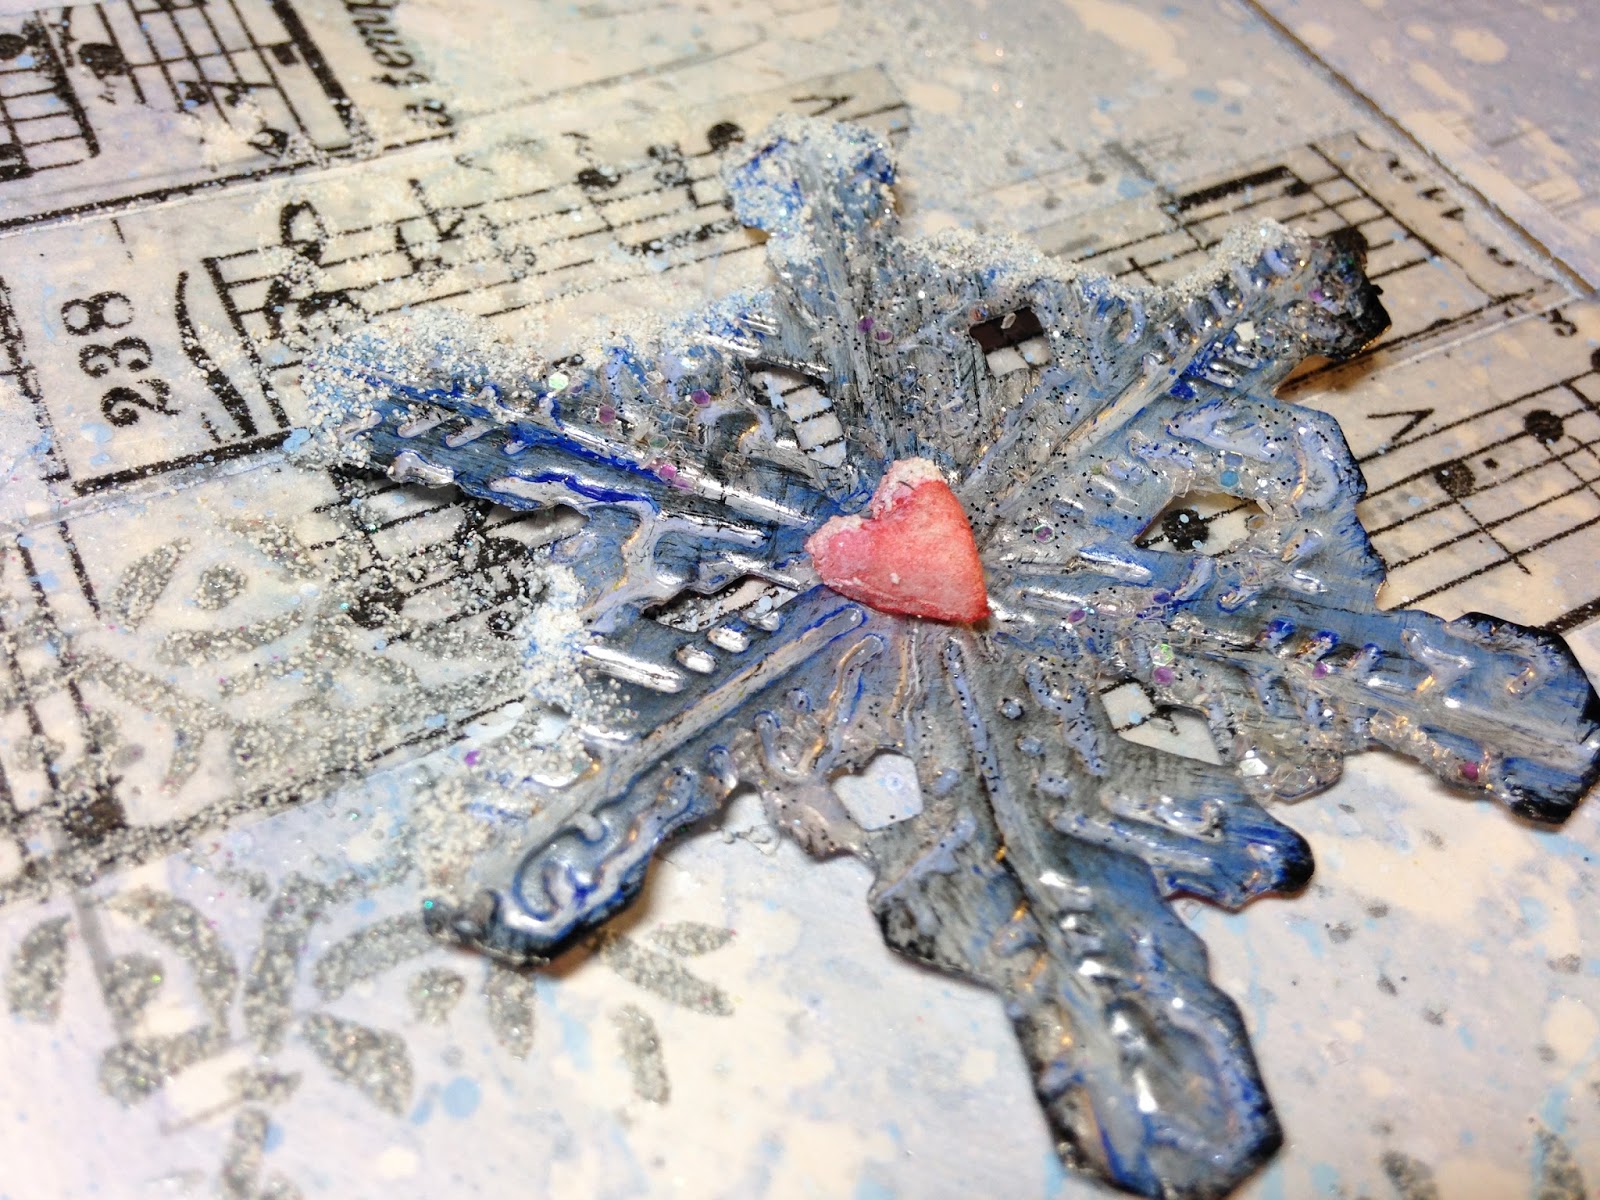
I had a blast making this, and it practically made itself in a couple of hours--granted the DecoArt Crackle medium had to dry on the DecoArt Steel Grey hearts  (Tim Holtz Heartfelt die) overnight, but they were a part of a series I was already working on.  All I had to do was add some Distress Shaded Lilac paint, heat embossing, and a couple of Remnant Rubs to them. I used Ranger gold embossing powder and Emerald Creek's Burnt Copper Leaves to add texture to my crackled hearts.  I love those tiny specks!


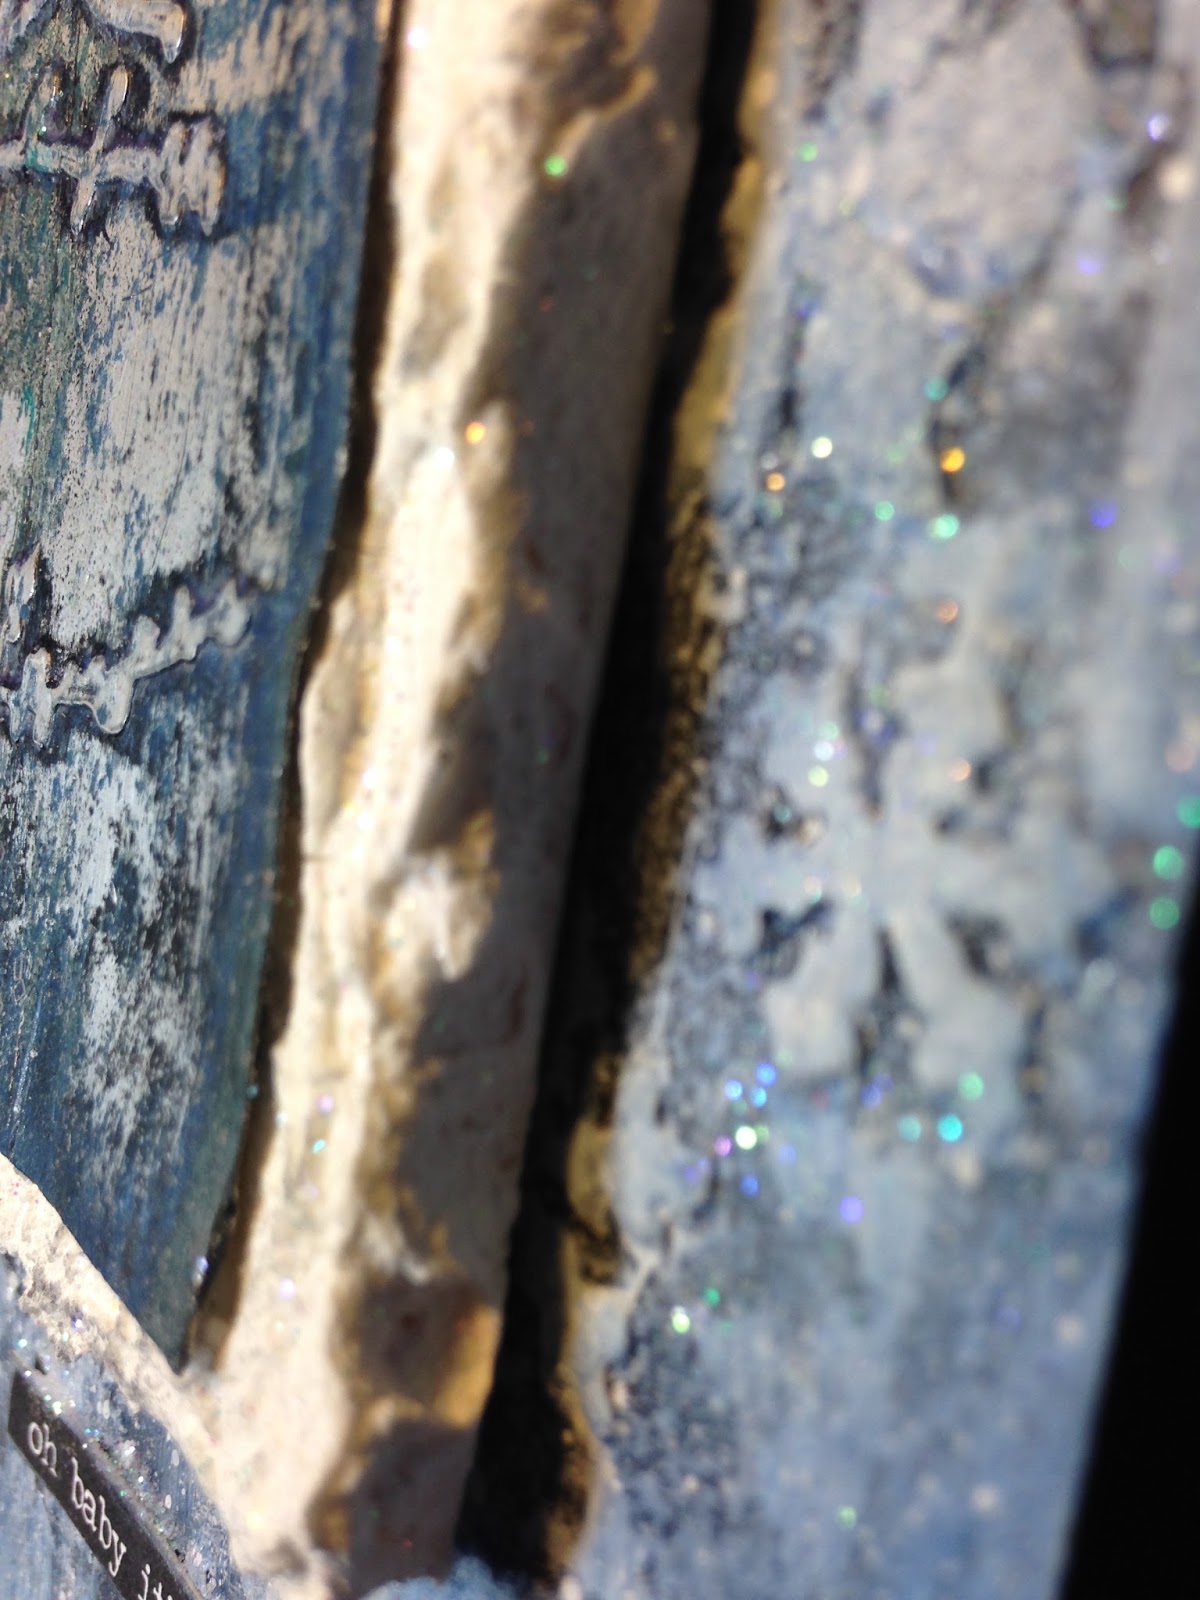
Oops on the blurry shot!


The background is a tag cut using Tim Holtz' Tags and Bookplates die and given some texture with my hand compounded texture paste and a home made stencil.  I  heat embossed with black Embossing Puffs for the texture before patting it with Distress paint. I  hit the motherload when I found these puffs in 4 colors at a yardsale recently!


The fence is Tim Holtz  Ironwork Gate die colored with Distress paints.  The frame is Tim Holtz Tags and Bookplates die, crackle paste, Distress paint, ink, DecoArt antiquing cream and my own embossing powder mixture and  tiny bit of Burnt Copper Leaves. The brad was also embossed with Burnt Copper Leaves. A Remnant Rub makes a ghastly portrait!


The key is Tim Holtz Hardware Findings die heat embossed with my own embossing powder concoction and embossed with a rubber stamp.  I topped  it with more embossing using Burnt Copper Leaves. I echoed this embossed texture at the bottom of the black chipboard backer board.


Following Lys' wishes, I have taken photos of Paloma in a place which represents peace or freedom to me. Anxiously awaiting the dove's arrival, I left one of my Christmas decorations up on top of the hutch of my desk where I tap away at the keys of my computer. Here's where I  write my blog, visiting lovely people such as yourself that live in faraway places, whom I will unlikely ever get to meet, yet feel so close to. This is my peace from the every day world.


I also find peace in my garden, and I snapped Paloma with her new American friend, Lucky Duck, in the tiny shade garden next to my screen porch. My porch swing is where I spent long, boring days this summer, and where I now and have always found freedom from the harsh realities of life. There are bird feeders, squirrel feeders, a grape arbor and a patio built by my husband, and a lovely tiered fountain gurgling away off to the side that you don't see in this photo. Gardenia's will bloom here in just another month or two.  Ah, their sweet perfume!  What could be more peaceful?  It's looks a little dull,  and unkempt right now, but it's still peaceful to me. Oh, that urn needs a cleaning and my climbing fern is frozen!


In the package was a little journal with names and addresses of those that want to offer a peaceful rest spot for Paloma--there are still a few empty pages.  So if anyone else that has not contacted Lys or Alison would like to be included in Paloma's journey, please contact me at capon at bellsouth dot net with your mailing information, and I will be sure to add you.  Lynn P. Lynn M and Julia A left comments on Alison's post, but I don't see them in the journal.  Let  me know if you would like your names added. I will be sending Paloma off to her new destination next Tuesday.

I chose a name from the journal to send Paloma to; I hope it's ok we do it out of order. I purposefully chose this name when I saw it, because I wanted to make this tag especially for this special lady. She's been a loyal follower, and we have a love of Halloween in common. You know who you are!

Alison blessed me, too, with this wonderful tag trio I had so admired on her blog!  Aren't they just a breath of fresh, spring air! Thank you, so much, you lovely lady! I will treasure them forever!


I would like to enter my tag into the following inspiring challenges:
Frilly and Funkie Enjoy Your Embossing Oh, I enjoyed it! I hope you do!
Emerald Creek Dares Valentine's Is NOT In the Air Non traditional colors and theme.
Scrapy Land Challenge Challenge # 34 Love Is In the Air (Romance/Valentine's) Not your typical Valentine's, but I'm "romancing" a blog buddie! Tee Hee!  Dies used: 4 different Sizzix dies.
-Mixed Media Place Creative Gym # 16 New Beginnings New Beginnings means trying new things..I've tried a new technique (crackle on hearts), a new way to use what I already have (texture on the bricks with embossing powder) and possibly a new friendship as I woo a fellow blogger with my tag!
Vintage Stamping Challenges # 40 Anything Goes with Your New Stash My new items are Burnt Copper Leaves embossing powder and black embossing puffs used for the first time. I got the puffs at a yard sale. My stamp is on the key, embossing into the melted powders.
Happy Little Stampers Mixed Media Challenge January 2016 Stencil I used a home made stencil on the background and my stamp is embossed into heated powders on the key.

Thank you for stopping by  today and for all your amazing comments!  I read and appreciate each one!
Hugs and Blessings!
Sara Emily

Wednesday, January 27, 2016

Moments of Time

Hello everyone!  I hope you are having a good week. It is amazing to me how fast the days are flying by, and it's near the end of January already! I have a mixed media card to share with you today using the colors and the time element in Claudia's Make Time-Mood Board challenge at Our Creative Corner.


If this looks familiar to you perhaps you have seen a similar card I made for my husband's Father's Day card here.  I hope there's no law that says you can't CASE your own work! The faux wood background is made using a Tim Holtz Texture Fade (pressure embossing), gesso and Distress inks. Heat embossing is done on the Tim Holtz clock, the little card base I set the clock face on, and  clock hands die cuts  using my precious Cloisonne powders and a knock off I concocted myself.  These are a cross between UTEE and embossing powder, and I've finally figured out how to make my own, so you will be seeing quite a bit of this.

The 3 clock faces are made from waste packaging using Tim Holtz Faux Cracked Glass technique. (Volume III Compendium of Curiosities) "Moments" is a Tim Holtz die. Sorry this is so brief, but I'm really short on TIME!


I would like to enter this into the following inspiring challenges:

Thank you for stopping by and for leaving your wonderful comments!  I read and appreciate each and every one of them!
Hugs and Blessings!
Sara Emily


Monday, January 25, 2016

Oh, Baby, It's COLD Outside!!

Hello everyone! I just crawled out of my hole and discovered there's a Winter Wonderland challenge  going on over at DecoArt Mixed Media Blog. Well now, that's right up my alley! I hope those of you who have snow are enjoying it's beauty!  You may have read we had a recent dump of all 100 snowflake flurries here in the coastal south! You had to squint real hard to actually see the flakes.  So here I am, again, walking in my own hand made winter wonderland!


I'm afraid I took no in process photos, nor did I take notes on what I did.  I often take notes, so I'll know how to reproduce a look.   I'll share what I can remember, and hopefully I'm accurate. I did pile up my products as I used them, so I know that's right, anyway.  You can skip through the how-to, if you wish.  It's basically there for my knowledge and for anyone else that cares.

I actually started off with the top metallic panel, as an experiment.  (I think you are supposed to take notes when you experiment, so you remember what the heck you did!) I applied my new metal repair tape to a panel of manila file folder and embossed with a Tim Holtz Texture Fade. I applied a coat of DecoArt Media gesso in black and let that dry. I only have a few fluid acrylics, so I used what I had to get a stormy sky type of look--my colors will be listed below.  I mixed my colors with Matte Medium and painted them on. Before the wash was completely dry, I took a paper towel and laid it over the panel, pressed it onto the surface, and then pulled it off quickly and then wiped with a damp baby wipe.


I added little dots of Liquid Glass to some of the berries and let dry. I sponged on Titanium White to highlight the raised areas.  When dry, I gave another coat of Matte Medium and a light dusting of Glamour Dust. Love that frosty glimmer, but you may just have to imagine how shimmery it is.  No matter how I try, I can't photograph the shimmery beauty with my phone camera. And you can see by the number of photos, I tried a lot both in my "studio" light and in natural sunlight!


The back panel was made from cardstock embossed with another Tim Holtz Texture Fade.  Again, I covered with black gesso and let dry. Next I applied white gesso to the edge of a piece of scrap cereal box, and scraped it over the raised areas. I put a dot of  each of my fluid acrylics on my craft mat, and one by one, I layered on the color using my palette knife, sometimes scraping, sometimes patting and other times applying with the side edge of the knife.


I gave it several spritzes of white Shimmer Mister and then spritzed lightly with water.  I dried with a heat tool. I applied some of the mister at  the bottom using the inside tube of the spritzer mechanism, spritzed with water to let it drip down, and once again dried. I spritzed the reverse side one more time with water and ran it through the Big Kick with the Texture Fade again to get some real crisp embossing. By the way, I embossed once at the top of the card, and then again at the bottom to cover the entire 5 x 9 ish piece of card. I layered on some more of the blues, grey, and white paints using a make up sponge ever so lightly tapping to high light the raised snowflakes. While wet, I gave a dusting of Glamour Dust.  A final flick with some watered down Titanium white for blizzard like conditions. The simple quote is from Tim Holtz Small Talk, and I edged it with a mixture of Fluid acrylics in Titan Buff and Titanium White. I used Matte medium to adhere, and added a little extra at the top edge and sprinkled with Glamour Dust.


I felt like my artwork was a little busy with the two panels, so I decided to give the eye a little snowy place to rest.  I slathered some Crackle Paste on the edges and around the sides of a piece of foam core and while wet, I sprinkled on more Glamour Dust.  I'm telling you this baby shimmers like freshly fallen snow in sunlight! When it dried I swiped a little Medium Grey Antiquing Cream to the peaks (drifts!) I layered my metallic panel with foam tape to the snowy panel.  I cut a piece of chip board to the size of my bottom panel and adhered it and the snowy panel.


There you have it...my own Winter Wonderland, and I don't have to shovel! But then, I can't build a snowman or make snow angels with it either!

DecoArt Media Products: Fluid Acrylics-Titanium White, Titan Buff, Cobalt Teal Hue, Prussian Blue Hue, Medium Grey Value 6; Gesso-white and black., Matte Medium, Liquid Glass, Crackle Paste, Medium Grey Antiquing Cream, White Shimmer Mister  Other DecoArt Products: Glamour Dust Other: chip board, card stock, manila file folder,  3M Metal Repair tape, foam core, Tim Holtz Texture Fades Snowflurries and Winter Berries, Small Talk Occasions stickers.


I would like to enter my project into the following inspiring challenges:
Emerald Creek Dares Valentine's Is Not In the Air Heart's Undone My heart was broken when the temperature rose as soon as we started to get snow, and all we got is a few flurries and LOTS of cold rain. This led me to make this wall hanging. (I know, it's a stretch, but the absolute truth!)
Double "D" Challenges "Brrrr" Winter Time Theme I was inspired by the snow and the branches.
papersweeties-inspiration#39
Mixed Media Place Creative Gym # 16 "New Beginnings" For me, my new beginning is entering into this challenge.  I've been watching the Creative Gym exercises for about a year, and now finally joining in as I think my Mixed Media skills have improved enough. ALSO: Fresh fallen snow reminds me of "new", like some people think of green grass in the spring.  ALSO: using my new DecoArt Fluid Acrylics.
Dutch Card Lovers challenge #246 Let It Snow  I checked the rules and didn't see that a project had to be a CARD, although your title suggests it...I'm taking my chances!

Thank you for stopping by today and for all your wonderful comments!  I read and appreciate each and every one!
Hugs and Blessings!
Sara Emily
UPDATE: thank you for choosing my artwork!

Sunday, January 24, 2016

One Final Refrain....Let It Snow

Hello everyone!  If you don't know it by now, I LOVE snow!  I guess in this case absence makes the heart grow fonder. I've made two recent posts titled "Let It Snow", and as the song goes, "Let it snow, let it snow, let it snow!" This is my final refrain.

I am sure I won't win any awards with this, but I'm happy and proud to say I've finally broken down and worked in my art journal!  A big thank you to Yvonne Blair for sending me this great art journal.  I love it because it lays flat, the pages take lots of abuse and it's smallish, so not so intimidating to someone like me. And thank you to Candy Colwell for her encouragement and faith in me.  She and Yvonne provided much encouragement to just do it! I've also found the journal pages in many blogs out there to be exceedingly inspirational--way too many to list!


I have to say, all my singing and posting about this song was very productive!  I'm happy to report our southern coastal town saw about 15 minutes of snow flurries this morning! Whoopee!

My journal page started off on the wrong foot!  So excited to get started and with an idea in mind--a rarity for me!, I splattered on my DecoArt Titanium white paint, and got some incredible texture with hopes to do a resist. Oops, these are manila pages, and I forgot to add gesso! Duh! So I added more white paint (not gesso). Next I did a monoprint using Tim Holtz Stripes stencil and Perfect Pearls spray mists in Pewter and Turquoise (First photo).  This was too bright for my liking, so again with the Titanium white, but in a diagonal swipe, so it would look like the windblown snow.

I added some background stamping and stamped my refrain, then added tissue tape. More splatters of white...


I heat embossed my cardinal stamp (anonymous) in black and colored with Barn Door ink and my waterbrush.  The pine needles were colored with Pine Needles Distress markers and given a halo of Evergreen Bough.  I swiped over with my new Distress Micro Glaze to resist the ensuing inks.


Snowflake stamp and Tim Holtz Snowflake Duo were embossed with Soft Fallen Snow by Emerald Creek and some glitter mix added to the die cut for extra sparkle.  My 3 little hearts were made from paper clay and an anonymous acrylic stamp. They were inked with Barn Door and Hickory Smoke and dusted with Soft Fallen Snow.


I took these photos at my kitchen table  with an overhead light, so you can really see the texture of the Soft Fallen Snow on the snowflakes and on the pine branch. I love how the stray particles look like little snow flakes.  I'm a little disappointed in my cardinal.  The ink would go on nice and red, and turn pinkish...probably due to the white acrylic under--probably should have sealed it.  Any suggestions are welcome.  I do consider my journal to be a learning tool, and don't expect to be without fails.


Die: Tim Holtz Snowflake Duo  Stamps: Heart and cardinal-anonymous, Snowflake-Denami Design, Let It Snow-Wordsworth, Musical notes-Stampin' Up, Sheet Music-Recollections  Stencil: Tim Holtz Stripes  Embossing Powder: Soft Fallen Snow/Emerald Creek Wet Mixed Media Products: DecoArt Titanium white paint, Distress paint-Picket Fence, Black Soot, Shaded Lilac, Blueprint Sketch, Distress ink-Blueprint Sketch, Tumbled Glass, Broken China, Stormy Sky, Hickory Smoke, Barn Door; Archival Watering Can, Sprays: Perfect Pearls mist-Turquoise and Pewter, Distress markers Pine Needles and Evergreen Bough  Other: paper clay, tissue tape, Ranger Micro Glaze and various glitters


I would like to enter my journal page into the following inspiring challenges:
Emerald Creek Dares Valentine's in NOT in the Air! I LOVE snow and it IS in the AIR, but this is NOT a Valentine's Day project!
Paper Sweeties Inspiration # 39 January 2016 I had to enter with my last Let it Snow!  My inspiration comes from the snowflakes and the silver balls and glitter, as well as the pale blue.
papersweeties-inspiration#39
Vintage Stamping Challenges # 40 Anything goes With Your New Stash New stash- New art journal, new to me STAMPS: cardinal and snowflake. New Micro glaze.


Thank you for your visit today and for all your sweet comments.  I read and appreciate each one!
Hugs and Blessings!
Sara Emily